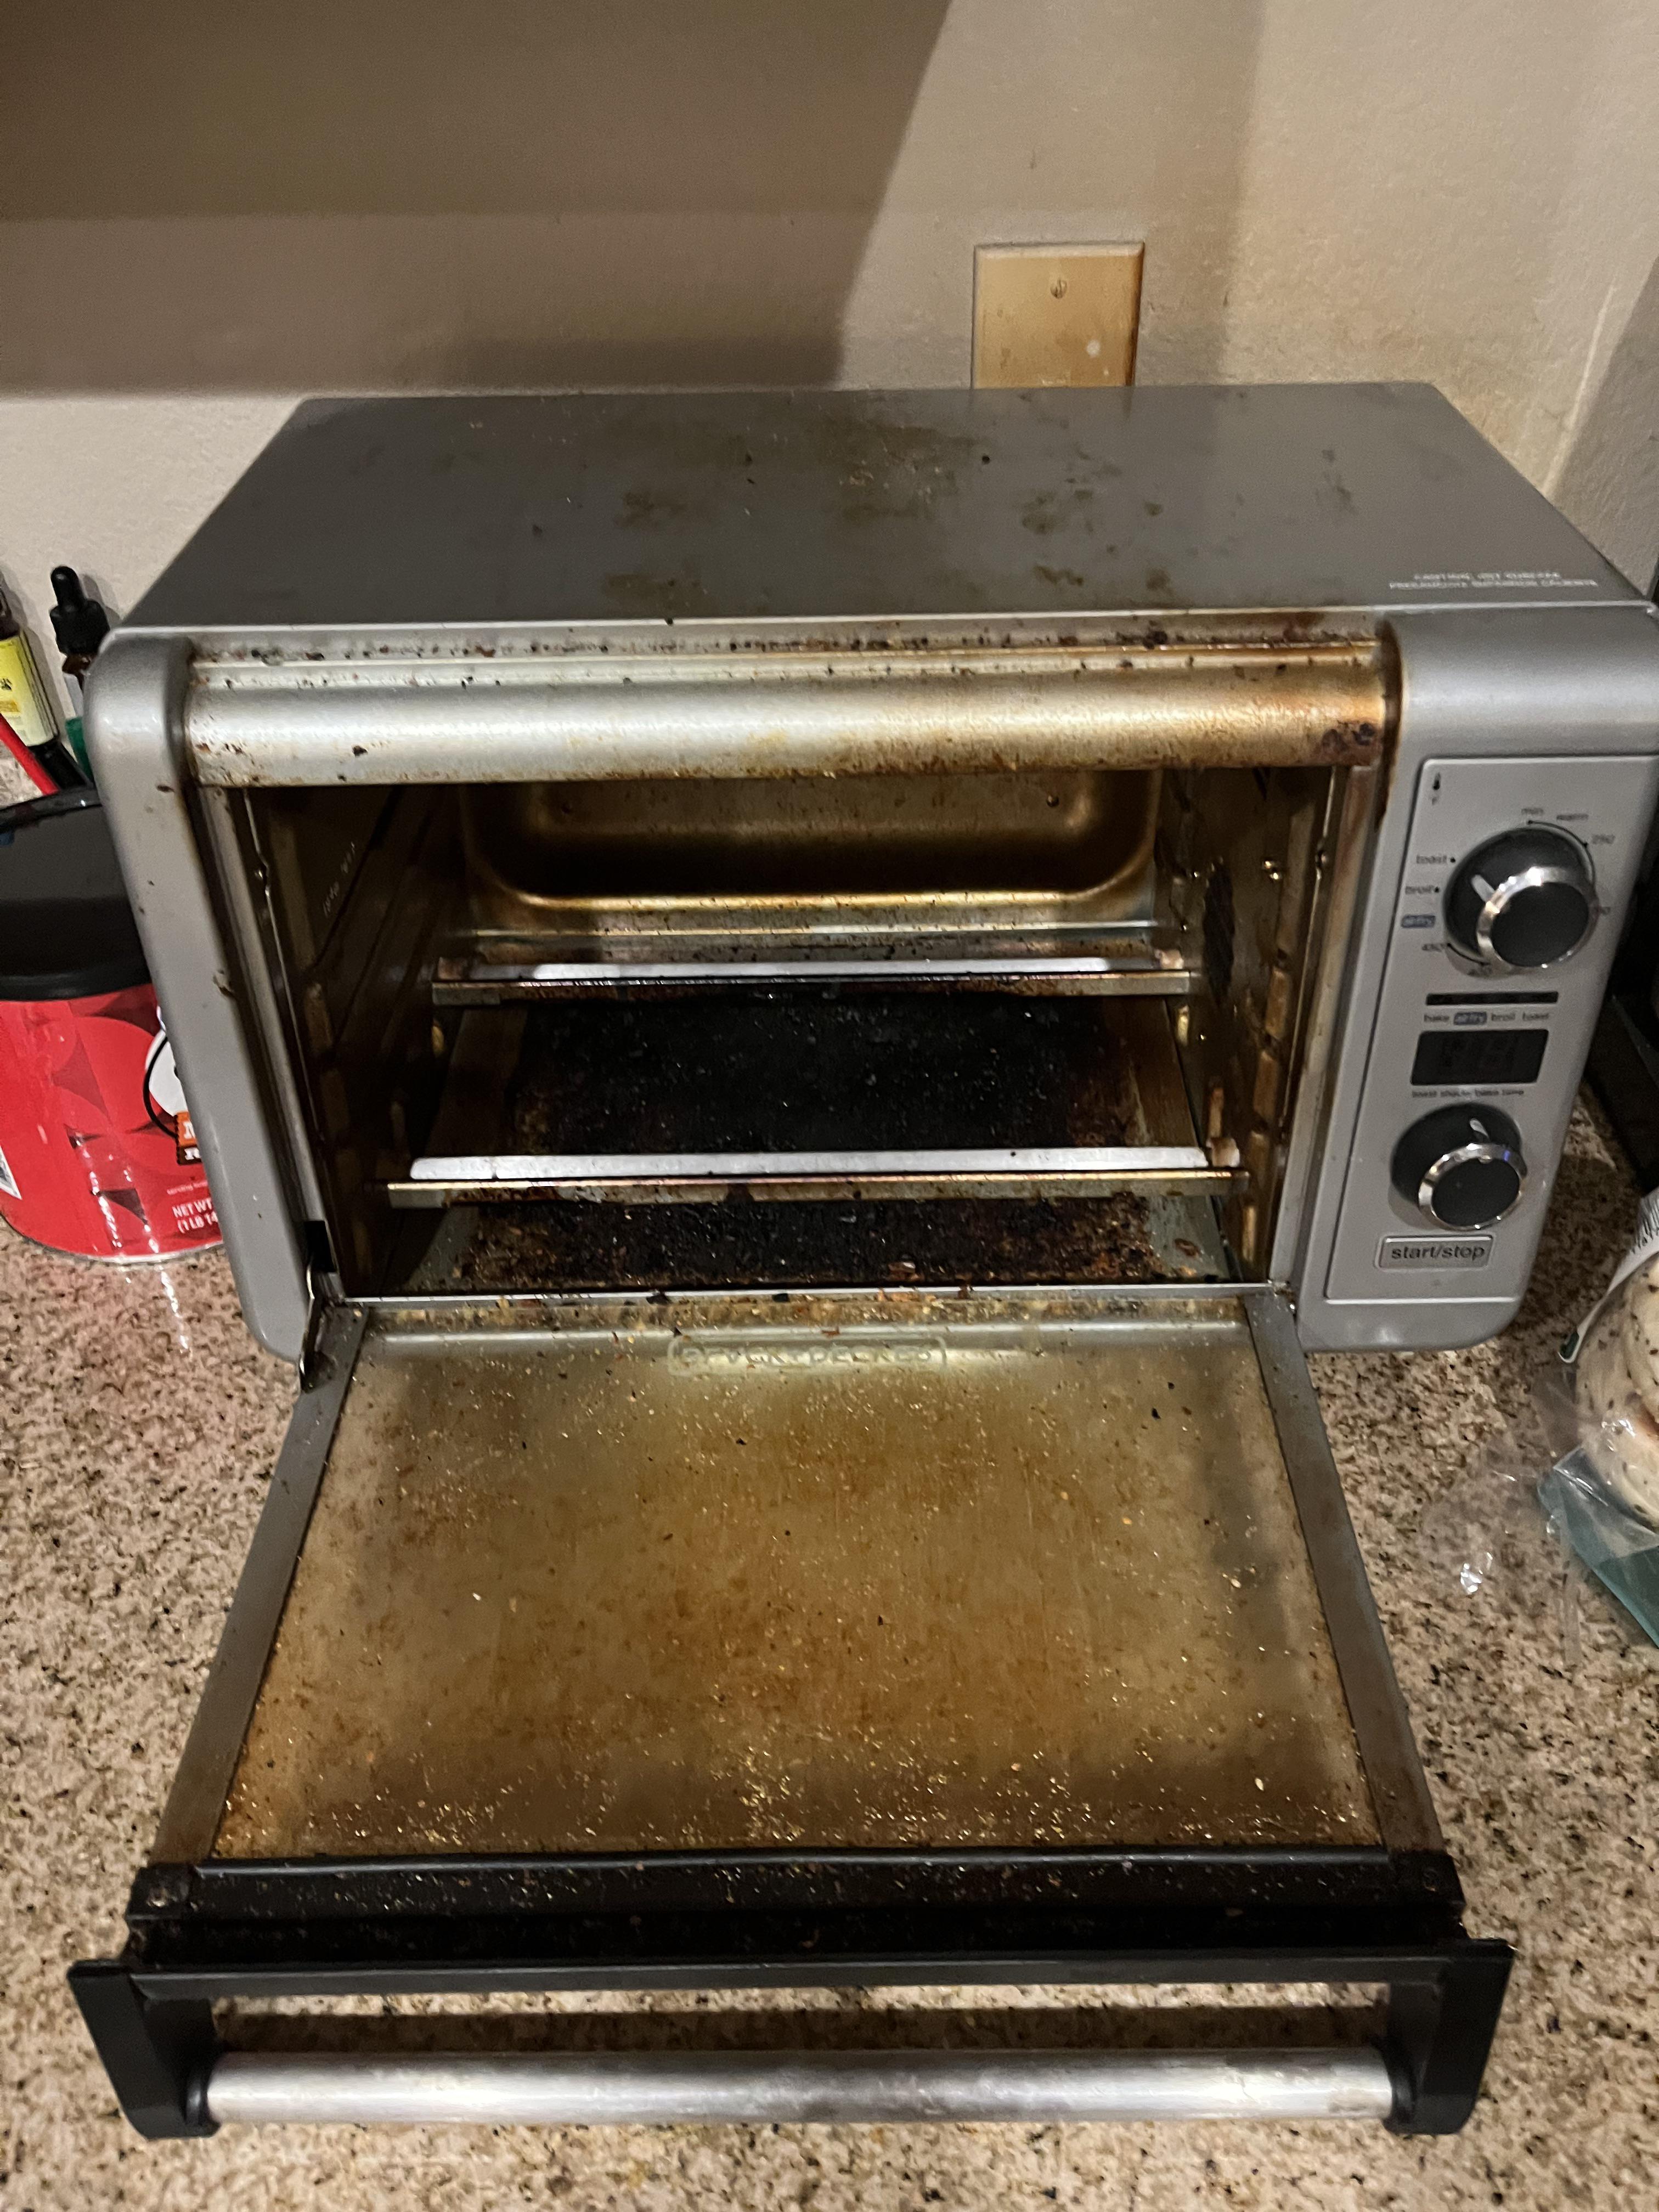
How To Clean The Worst Oven?
How to clean the worst oven Oven is a challenging task that many homeowners dread. Cleaning The Worst Oven may seem like a daunting chore, but with the right techniques and some elbow grease, you can restore your oven to its former glory.
Author:Suleman ShahReviewer:Han JuJan 19, 20243.6K Shares64.5K Views
Cleaning the oven is often a dreaded task, and when it comes to tackling the worst oven mess, the challenge can seem impossible. However, fear not! In this comprehensive guide, we will delve into practical strategies and techniques to restore your oven to its sparkling, functional glory.
From everyday household items to specialized cleaning products, we've got you covered. Let's roll up our sleeves and learn how to clean the worst oven.
Understanding The Culprit - What Makes An Oven Dirty?
Cleaning the oven is an everyday household chore, but comprehending the factors that contribute to oven grime is essential for effective cleaning. Let us discuss the various elements that transform a once pristine oven into a greasy, grimy space.
Grease And Cooking Residue Buildup
The Greasy Culprit - How Cooking Oils and Residue Contribute to Oven Dirt
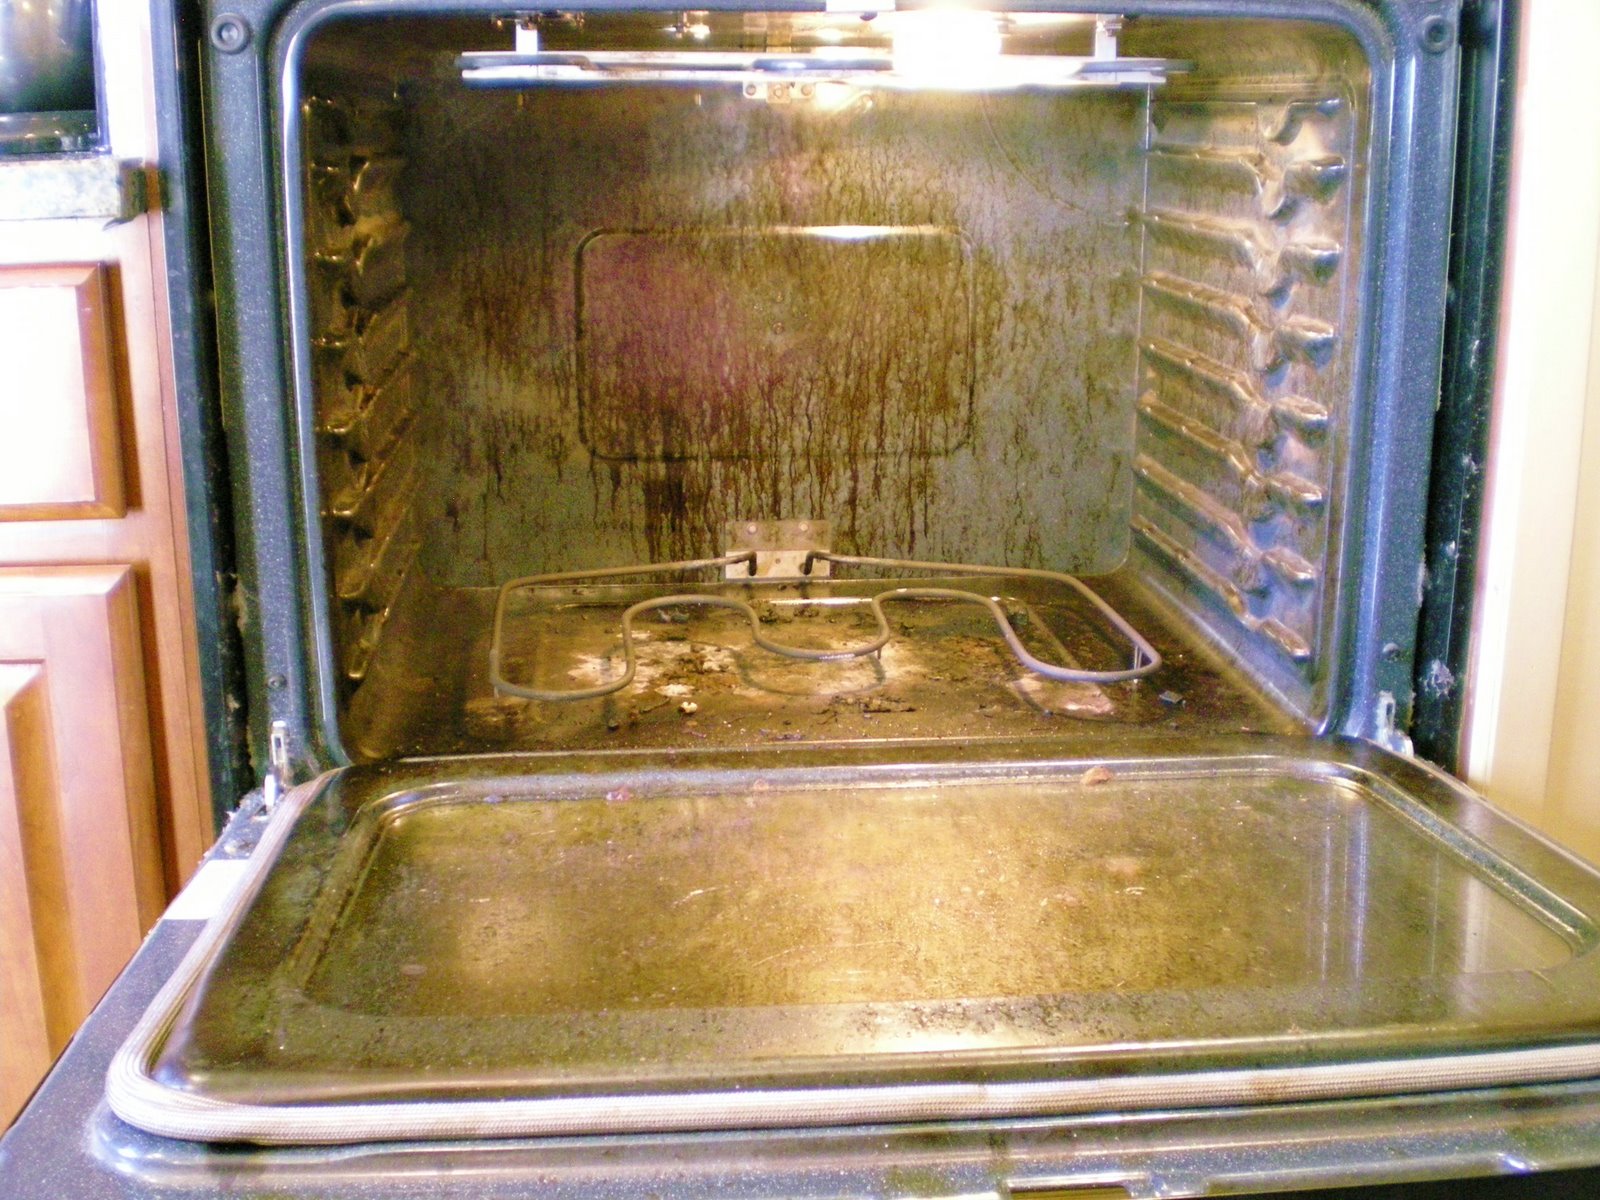
One of the primary reasons ovens become dirty is the accumulation of grease and cooking residue. As we prepare delicious meals, oils and fats splatter and evaporate, clinging to oven surfaces. Over time, these substances transform, solidifying and adhering stubbornly to the oven's interior.
Food Spills And Drips
The Untidy Fallout - Impact of Food Spills and Drips on Oven Cleanliness
Cooking is often a messy endeavor, and the fallout from food spills and drips significantly contributes to oven dirt. Whether it's a bubbling casserole or an accidental overflow, remnants of these spills find their way onto oven surfaces. As they heat up during subsequent cooking sessions, these residues bake onto the oven walls, creating stubborn stains.
Carbonization Of Food Residue
From Residue to Rigid Stains - How Carbonization Intensifies Oven Grime
When food spills and residues are subjected to high temperatures over time, they undergo a process known as carbonization. It transforms once-liquid substances into hardened, carbonized deposits. The result is a formidable layer of grime that is much more challenging to remove than fresh spills, adding to the overall dirtiness of the oven.
Lack Of Regular Cleaning
The Buildup Effect - How Neglecting Regular Cleaning Contributes to Oven Mess
One of the most common reasons ovens become excessively dirty is the neglect of regular cleaning. Overlooking routine maintenance allows grime to accumulate unchecked, making the cleaning process more daunting as time goes on. Understanding the consequences of procrastination sheds light on the importance of consistent oven care.
Cooking At High Temperatures
The Intensifying Factor - High-Temperature Cooking and Its Impact on Oven Cleanliness
While high-temperature cooking is necessary for specific dishes, it also plays a role in the accumulation of oven grime. Cooking at elevated temperatures can accelerate the carbonization process, turning spills and residues into hardened, stubborn stains. Awareness of this factor prompts a strategic approach to cleaning, considering the type of cooking methods employed.
How To Clean The Worst Oven - With Baking Soda
Spilled food is typical while cooking. The oven may become full of stains, burned materials, and spills that require urgent cleaning, compromising its performance and energy usage.
Cleaning ovens properly can help them last longer and reduce the healthdangers of using harsh chemicals like bleach.
Cleaning With Baking Soda
Empty your oven before cleaning. Also needed are these cleaning supplies.
- Baking soda/water.
- Rubber gloves.
- White vinegar - Spray bottle A large-area cloth or sponge.
- Baking soda and water clear any mess, while vinegar destains china and metal without destroying them.
- Remove oven racks and trays first.
- Mix half a cup of baking soda and water in separate basins and distribute with a sponge brush to cover the surface evenly.
- Use a sponge or spray bottle to evenly apply the paste to the oily range hood or cooktop places and let it set for 12 hours.
- Focus on the oven racks for now. The most accessible approach to clean oven racks is to soak them in hot water for two hours, then scrub them with soap and rinse.
- Wipe oven residue with a wet towel after 12 hours. It may not work in challenging locations, so use a spatula to carefully release the paste or spritz with white vinegar before washing and cleaning all surfaces.
- Finish by returning all racks to the oven!
Conquering The Worst Oven Grime Without Baking Soda
Cleaning the oven, especially when it's reached its grimiest state, can be a daunting task. While baking soda is a popular and effective cleaning agent, only some have it readily available. Fear not; there are alternative methods to tackle the worst oven grime without relying on baking soda. Let's explore a step-by-step guide to achieving a sparkling oven using everyday household items.
Gather Your Cleaning Arsenal
Before you embark on the cleaning journey, gather the necessary tools and ingredients. You'll need dish soap, vinegar, water, a spray bottle, a sponge or scrub brush, and a cloth or rag.
Prep The Oven
Start by removing oven racks and any loose debris. Use a dry cloth to wipe away loose dirt and crumbs. This step is crucial to ensure that your cleaning solution can penetrate the stubborn grime effectively.
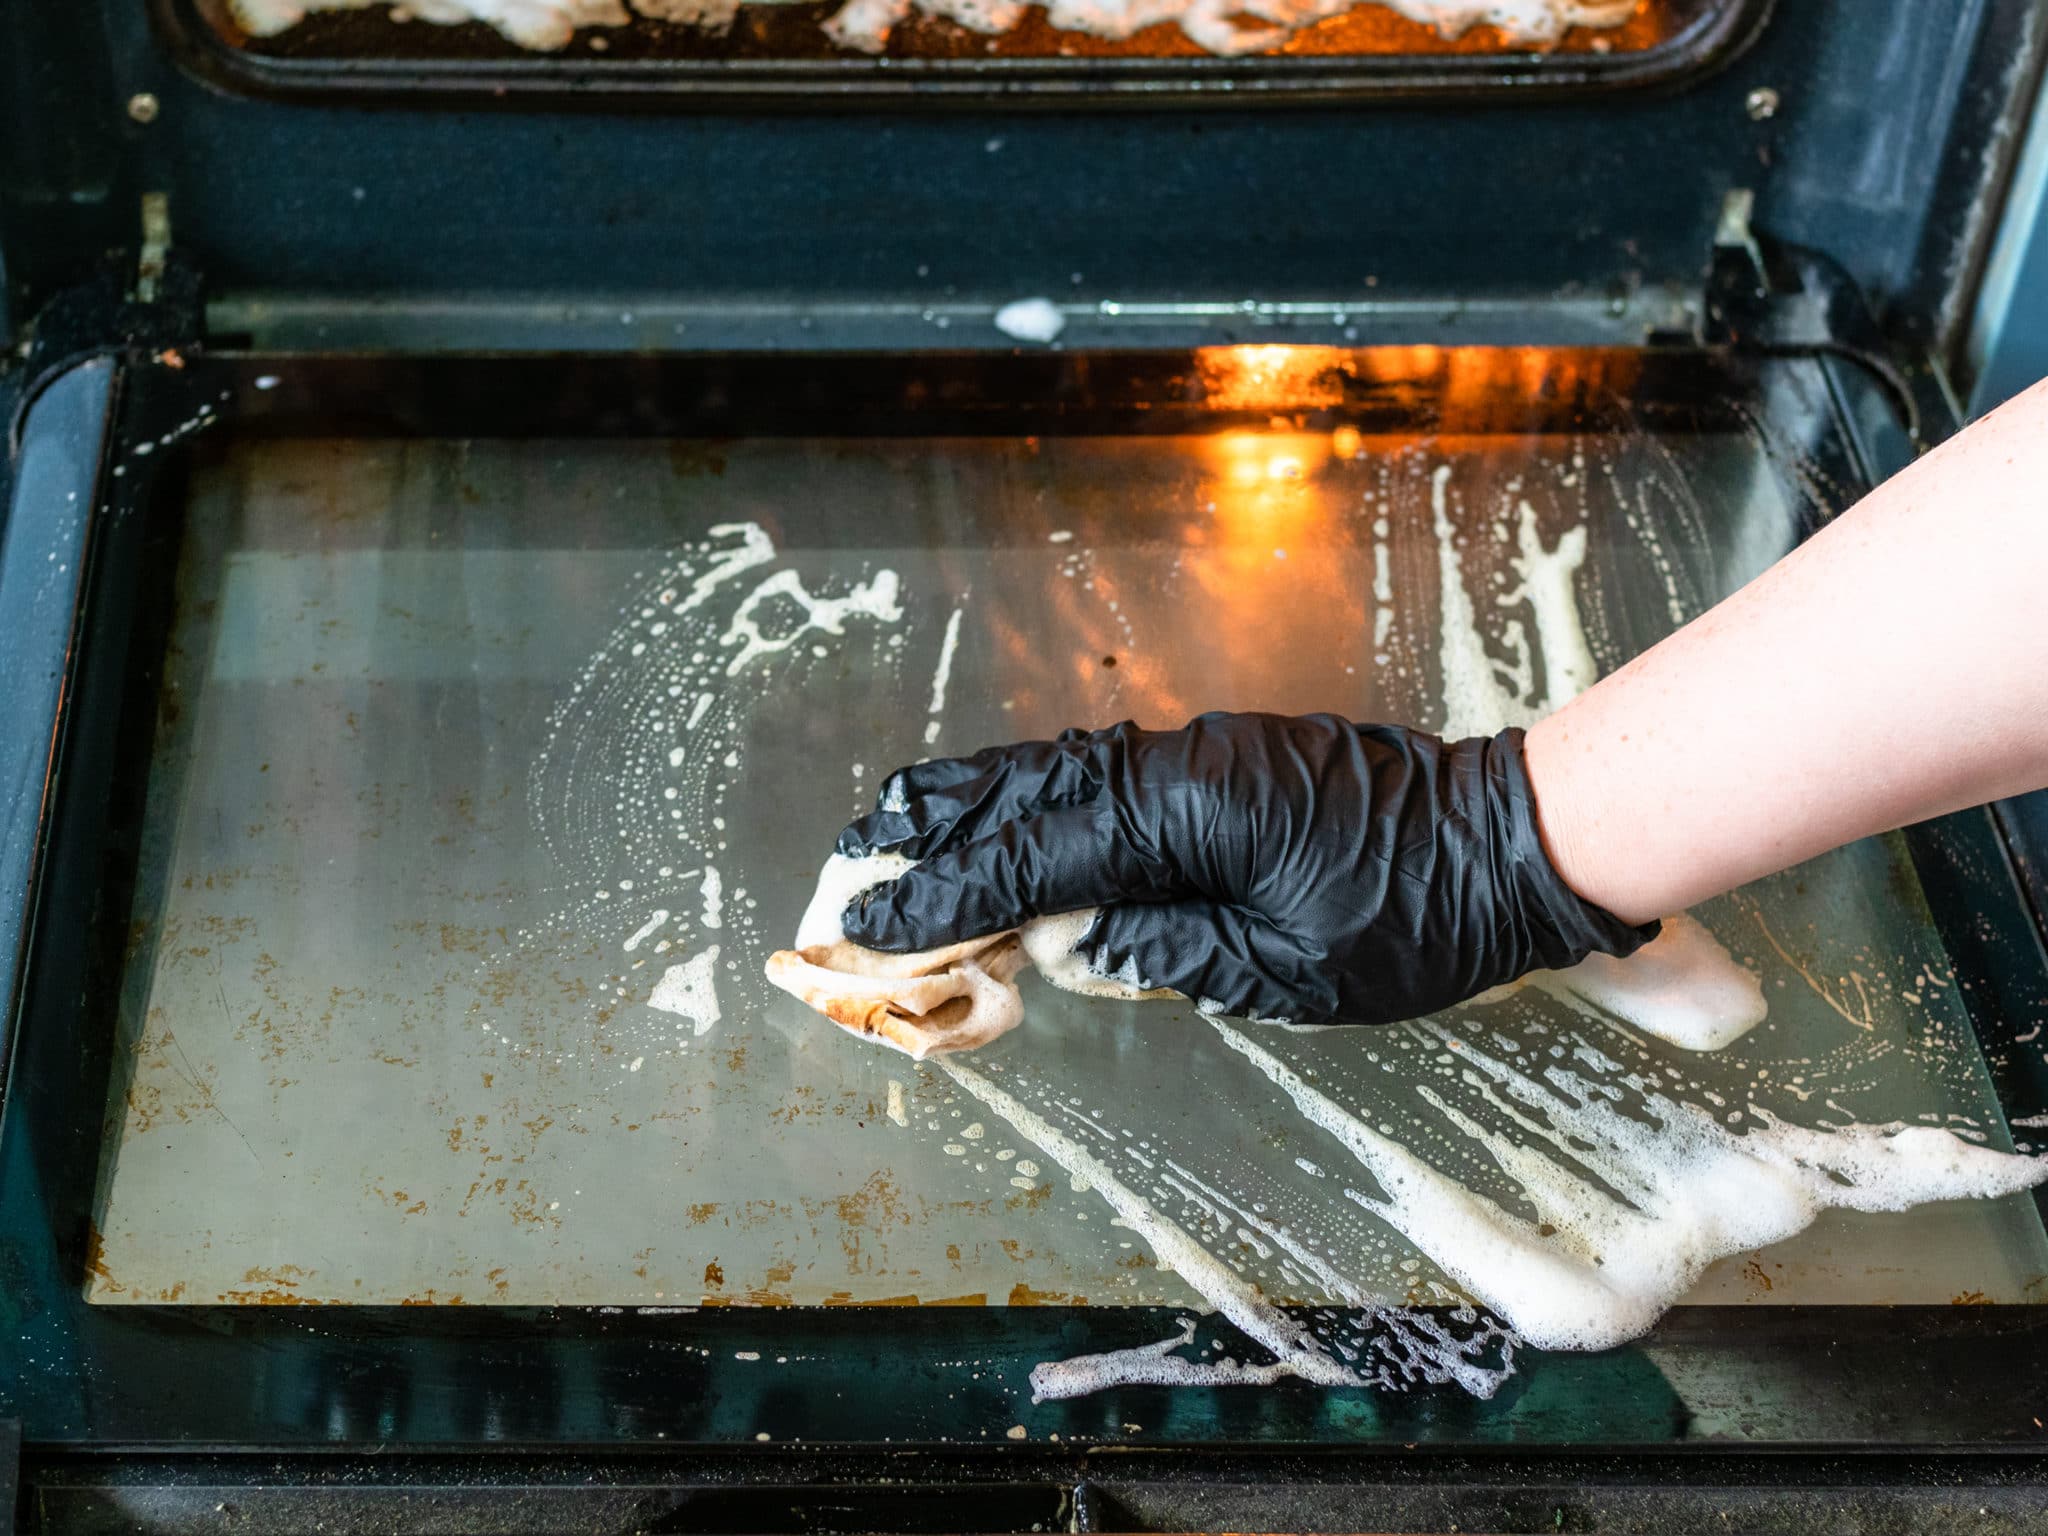
Create A Homemade Cleaning Solution
In a bowl, mix equal parts water and vinegar. Add a few drops of dish soap to the mixture. The acidityof vinegar helps break down grease and grime, while dish soap enhances the cleaning power.
Apply The Cleaning Solution
Transfer your homemade cleaning solution to a spray bottle for easy application. Generously spray the interior surfaces of the oven, focusing on areas with heavy grime buildup. Ensure that the solution reaches every nook and cranny.
Let It Sit
Allow the cleaning solution to work its magic. For optimal results, let it sit for at least 15-20 minutes. This dwell time gives the vinegar and soap mixture time to break down the brutal, baked-on grime.
Scrub Away The Grime
Armed with a sponge or scrub brush, start scrubbing away the loosened grime. Pay extra attention to areas with stubborn stains. For callous spots, let the cleaning solution sit a bit longer before scrubbing.
Wipe Down And Rinse
Use a clean, damp cloth to wipe down the surfaces, removing the dissolved grime and cleaning solution residue. If needed, rinse the cloth and repeat until the oven is thoroughly wiped clean.
Focus On Oven Racks
Remember the oven racks. Submerge them in a bathtub filled with warm, soapy water. Allow them to soak for at least 30 minutes, then scrub with a brush or sponge to remove any remaining residue. Rinse and dry before placing them back into the oven.
Final Inspection
Once you've completed the cleaning process, inspect the oven to make sure no residue remains. Turn on the oven to a low temperature for a few minutes to help dry any lingering moisture.
Mastering The Art - 10 Best Ways To Clean The Worst Oven
Cleaning the worst oven might seem like an overwhelming task, but with the right strategies, you can restore your oven to a sparkling, pristine state. Here are the ten best ways to tackle how to clean the worst oven.
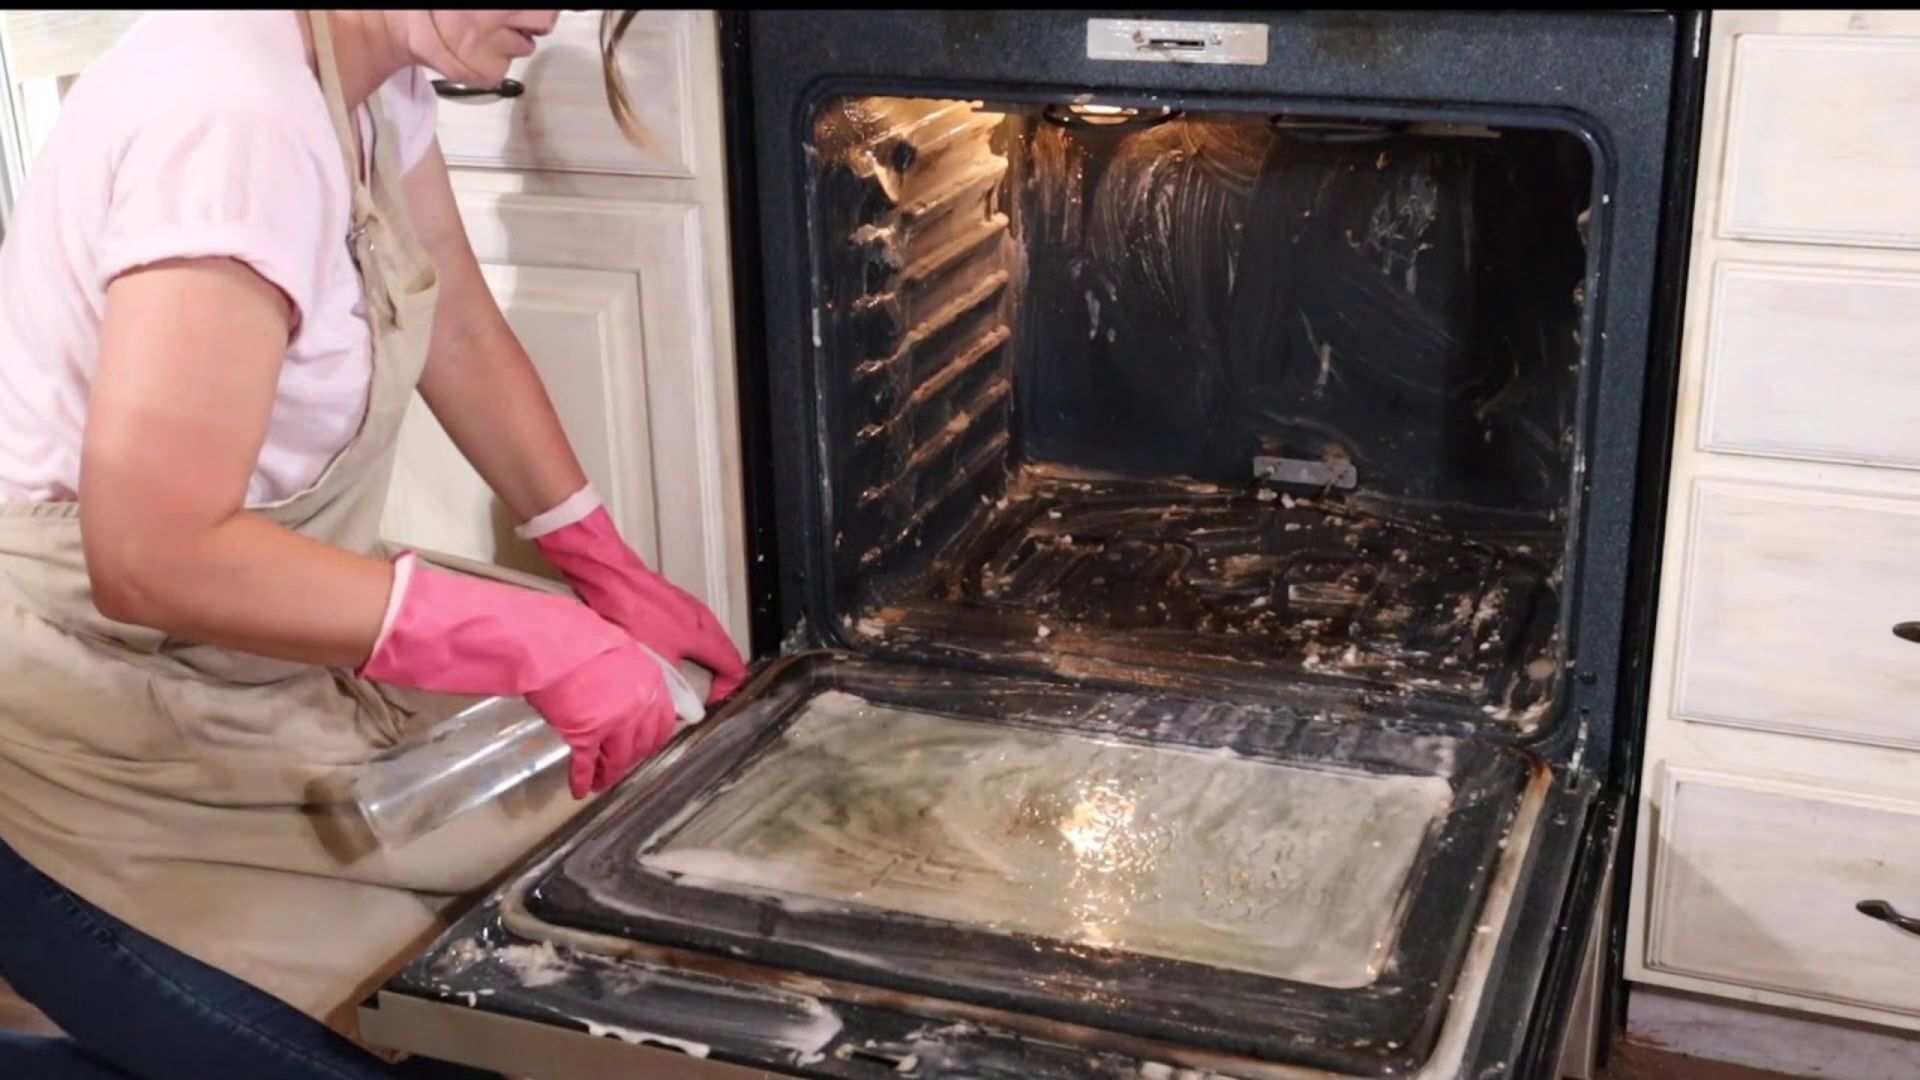
Homemade Baking Soda Paste
Create a powerful cleaning paste by mixing baking soda with water. Spread the paste over the interior surfaces of the oven, focusing on areas with heavy grime. Allow it to sit overnight, then scrub away the loosened dirt with a sponge or scrub brush. The alkaline nature of baking soda helps break down tough stains.
Commercial Oven Cleaner
Invest in a high-quality commercial oven cleaner specifically designed for tough grime. Follow the product instructions, and use protective gear like gloves and a mask. These cleaners often contain potent ingredients that can dissolve even the most stubborn residues.
Vinegar And Dish Soap Solution
Combine equal parts water and vinegar, then add a few drops of dish soap. Spray the mixture generously on oven surfaces and let it sit for 15-20 minutes. The acidity of vinegar, combined with the cleaning power of dish soap, helps break down grease and grime for easier removal.
Lemon Power
Harness the natural acidity of lemons to break down oven grime. Cut a lemon in half and rub it over stubborn stains. Alternatively, mix lemon juice with water and spray it onto surfaces. The citrus properties act as a natural degreaser.
Steam Cleaning
Use the power of steam to loosen grime and make it easier to wipe away. Place a heatproof bowl of water with a few slices of lemon or a tablespoon of vinegar in the oven. Heat the oven to a low temperature, and let the steam work its magic. Afterward, wipe down the softened grime with a cloth.
Ammonia Soak
For oven racks and grates, please place them in a sealed plastic bag with a small amount of ammonia. Let them soak overnight in a well-ventilated area. The fumes will help loosen grime, making it easier to scrub away the next day.
Salt And Cinnamon Stick Deodorizer
After cleaning, sprinkle salt on the oven floor to absorb any lingering odors. Place a cinnamon stick in the oven while it's not in use to add a pleasant fragrance and counteract any remaining smells.
Dish Soap And Salt Scrub
Combine dish soap and salt to create a scrubbing mixture. The abrasive texture of the salt, coupled with the cleaning power of the soap, makes this an effective solution for tackling stubborn stains.
Rubbing Alcohol For Grease
Apply rubbing alcohol directly to greasy areas. Let it sit for a few minutes to dissolve the grease, then wipe away with a clean cloth. Ensure proper ventilation during this process.
Regular Maintenance Routine
Prevent the worst oven grime by establishing a regular cleaning routine. Wipe down spills as they occur, and perform a deep clean every few months. Consistency is critical to maintaining a clean and efficient oven.
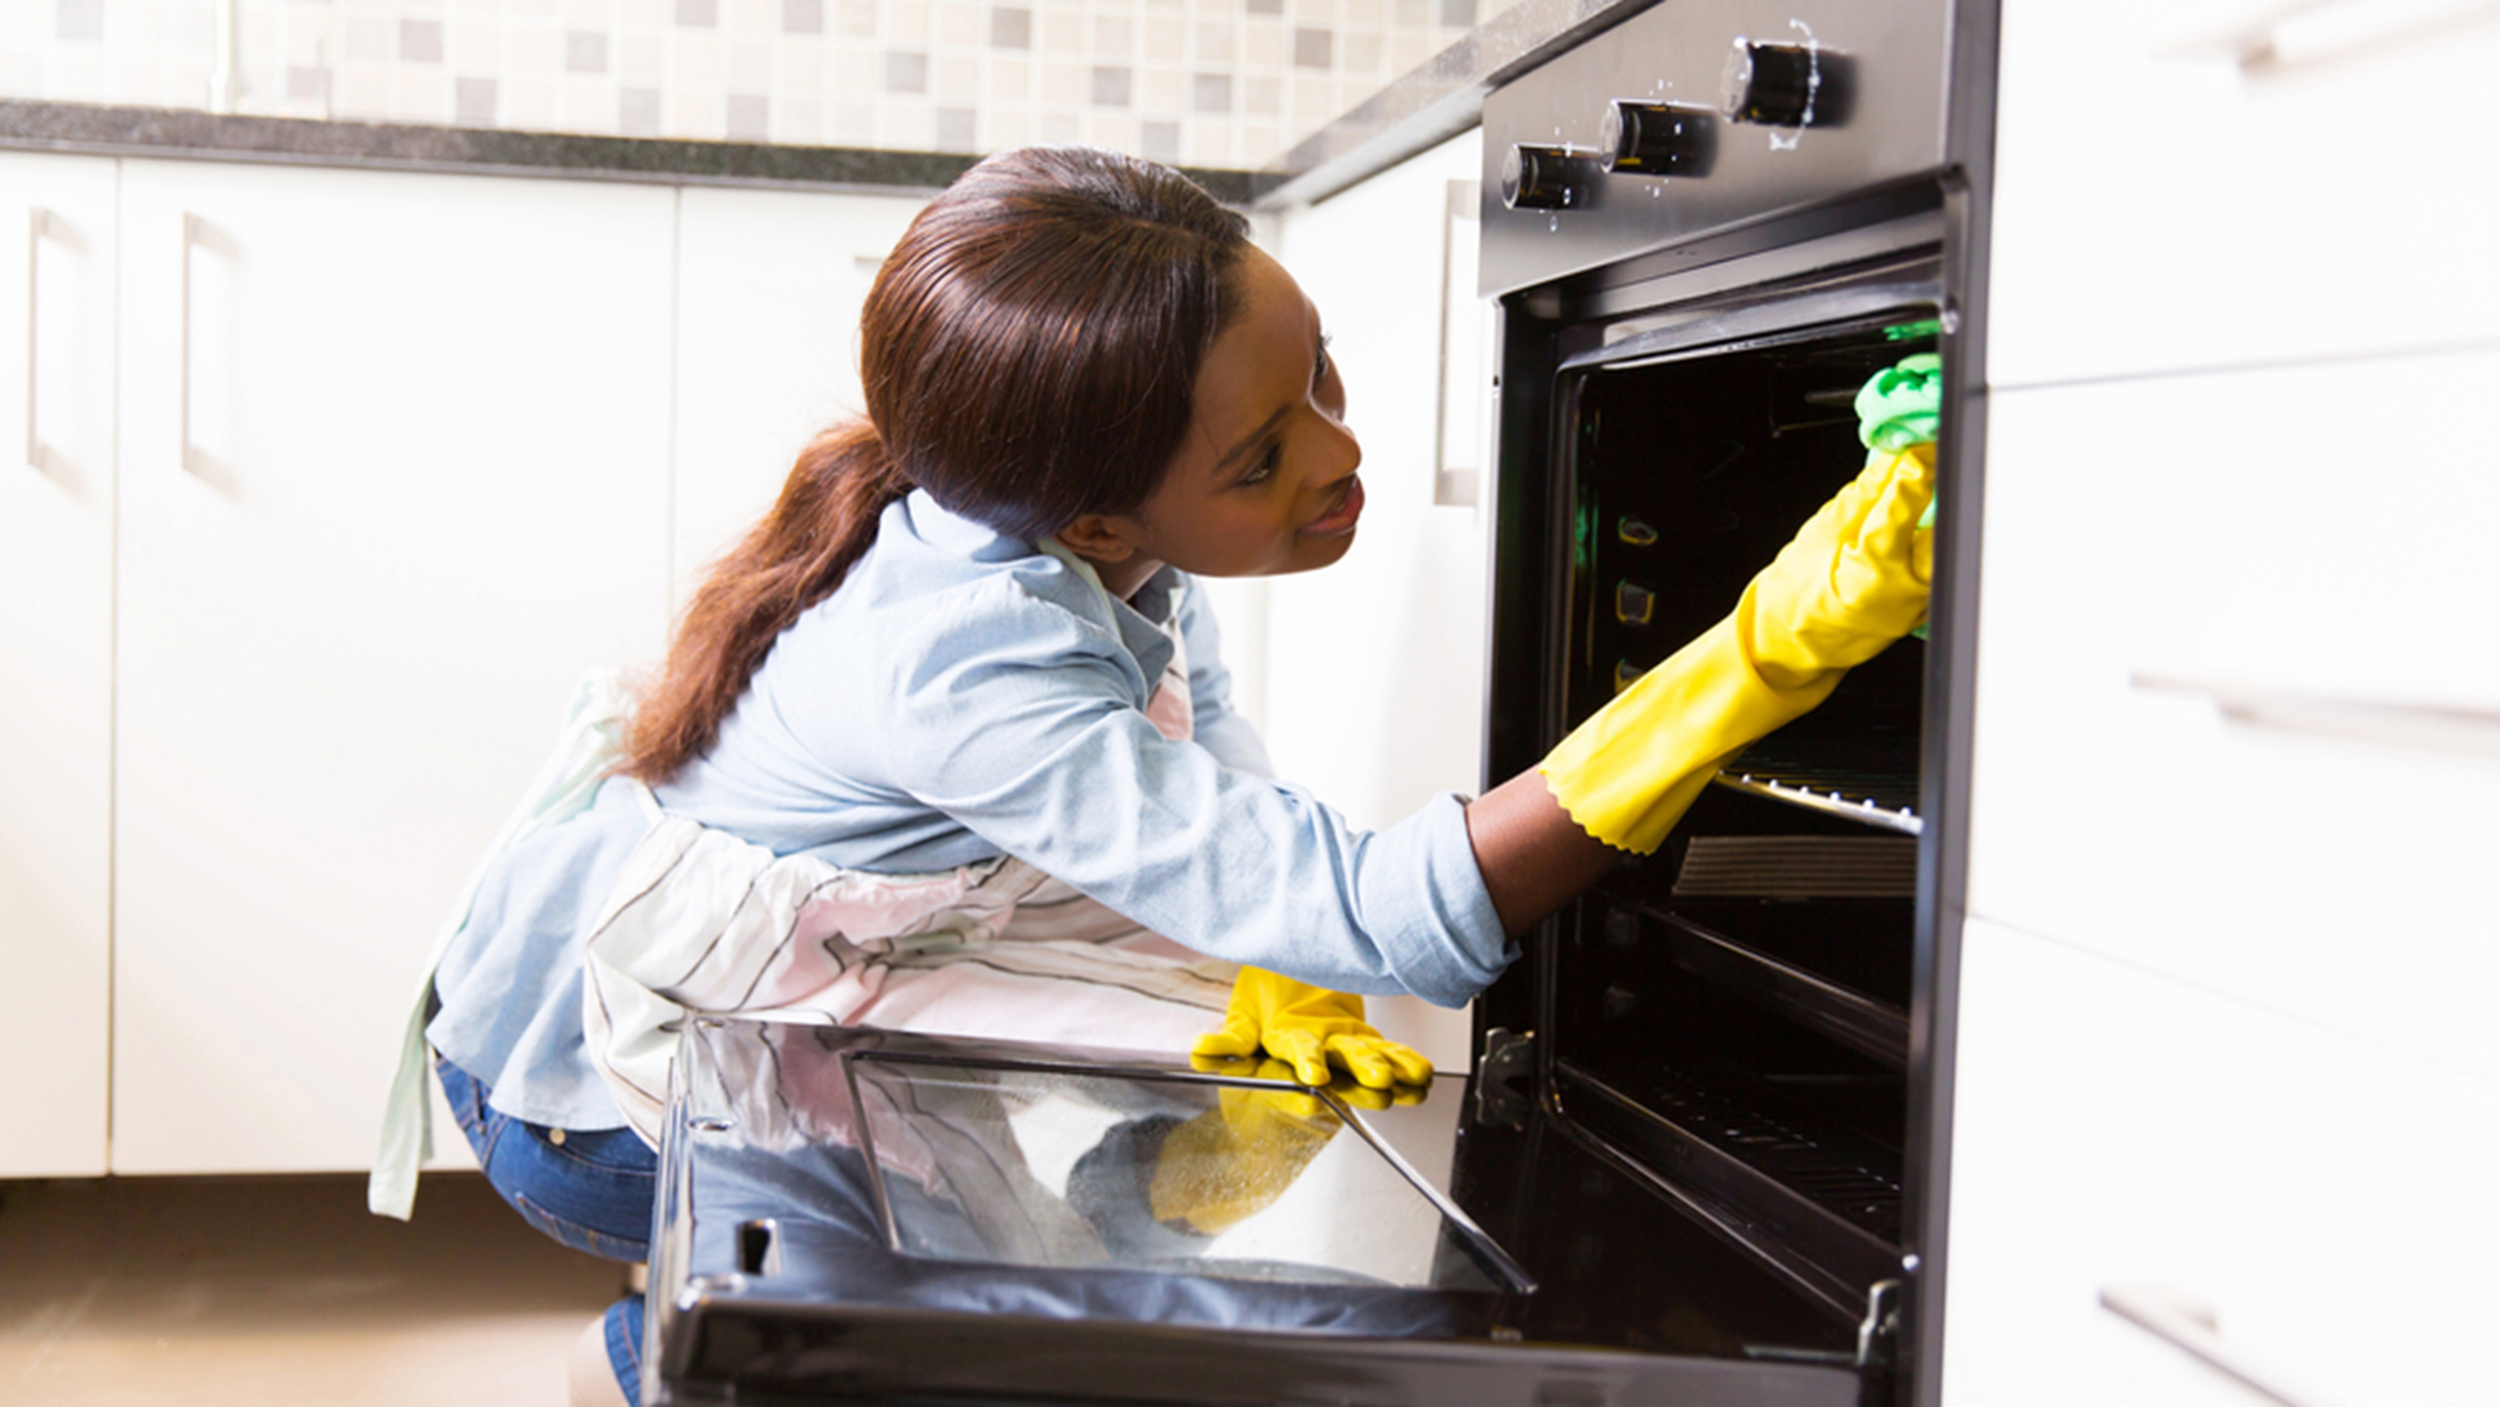
How Do You Clean The Inside Oven?
The oven cavity is most prone to develop greasy over time. To remove the most brutal filth, use these steps.
- Turn off your oven at the mains and spread newspaper on the floor to collect trash.
- Brush off caked-on food with a dry brush and sweep onto the newspaper.
- Clean the oven inside with your choice of product. Gas oven fans, gas supply components, and pilot lights should not be sprayed. Leave the product on for the time indicated.
- Since the bicarbonate of soda paste takes longer to work, keep it on overnight.
- Finally, sweep or wipe away cleaning products and debris. Wear rubber gloves and avoid product contact.
If your primary oven has a grill or a double oven, consider a folding grill. Moving the grill heating element lets you clean beneath it.
Follow the manufacturer's instructions to utilize your oven's pyrolytic feature once a month. Incinerated food ash must be wiped away, but it's easy. Remove the shelves before commencing the pyrolytic cycle. Leaving them in will discolor them.
Catalytic linings accelerate fatty deposit decomposition during high-temperature cooking. Some ovens with catalytic linings feature a separate cleaning cycle for when you're not cooking.
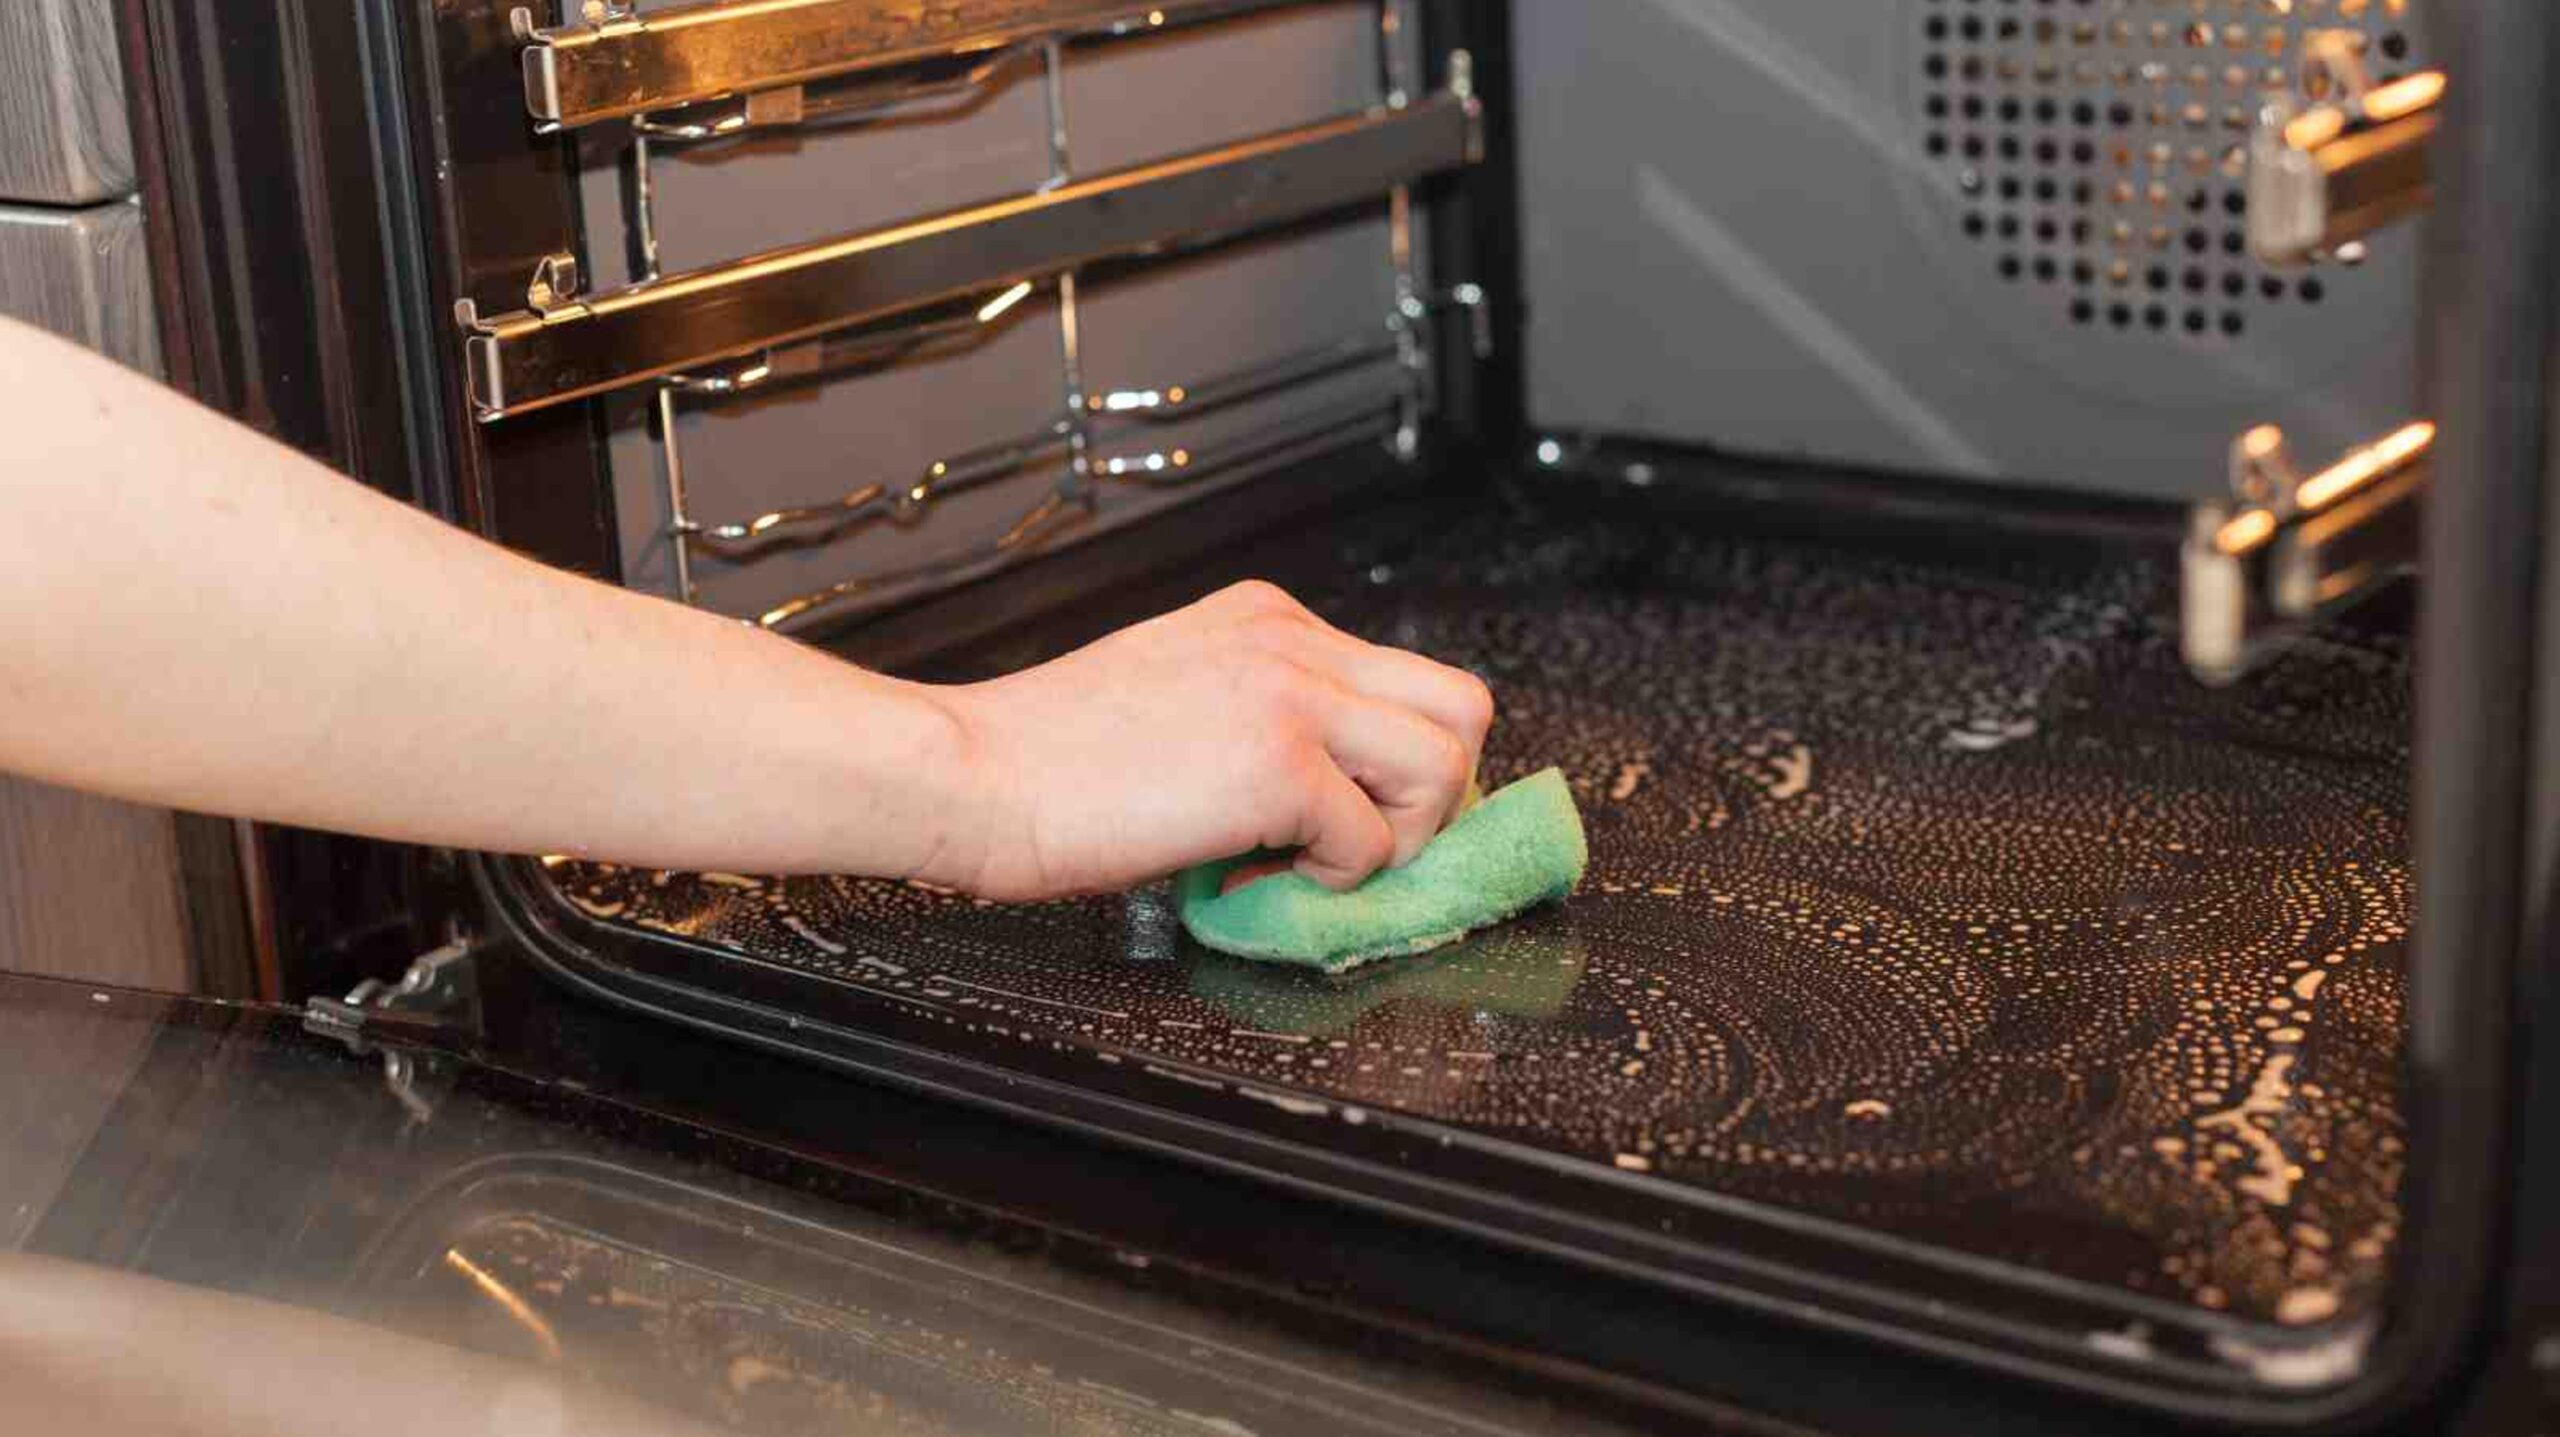
Cleaning Oven Racks And Glass Oven Door
Maintaining the cleanliness of your oven extends beyond the interior surfaces. Oven racks and the glass oven door are often overlooked but require attention to ensure your appliance functions optimally. Let us l explore practical methods for cleaning oven racks and the glass oven door, providing you with the tools and techniques to conquer even the toughest grime.
Cleaning Oven Racks
Below are the methods of how to clean the worst oven racks.
Soak In Warm, Soapy Water
Start by removing oven racks and placing them in a bathtub or large basin. Fill it with warm water and add a generous amount of dish soap. Allow the racks to soak for at least 2-3 hours or overnight. The soap will help break down grease and grime.
Scrub With A Brush Or Sponge
After soaking, use a scrub brush or sponge to scrub away loosened dirt. Pay special attention to areas with stubborn stains. For callous spots, consider using a ball of aluminum foil as an abrasive tool.
Rinse And Dry Thoroughly
Once the grime is removed, rinse the racks thoroughly to remove any soap residue. Dry them completely before placing them back into the oven. Proper drying prevents rust and ensures a clean cooking environment.
Cleaning The Glass Oven Door
Remove Loose Debris
Before starting the cleaning process, wipe away any loose debris from the glass door using a dry cloth. This step helps prevent scratching during the cleaning process.
Baking Soda Paste For Stubborn Stains
For stubborn stains on the glass, create a baking soda paste by mixing baking soda with a small amount of water. Apply the paste to the stains and let it sit for 15-20 minutes—the gentle abrasiveness of baking soda aids in lifting harsh residues.
Vinegar And Water Solution
Mix equal parts water and vinegar in a spray bottle. Spray the solution onto the glass door, covering the baking soda paste. The vinegar reacts with the baking soda, creating a foaming action that helps break down and lift grime.
Scrub With A Non-Abrasive Sponge Or Cloth
Use a non-abrasive sponge or cloth to scrub the glass door, focusing on areas with stains. The combination of baking soda and vinegar creates a powerful cleaning solution that is safe for the glass surface.
Wipe, Clean, And Inspect
Wipe the glass door clean with a damp cloth, ensuring all residue is removed. Inspect the door for any remaining stains, and repeat the baking soda and vinegar process if necessary. A clear glass door enhances visibility and adds a polished look to your oven.
How Do You Know When Your Oven Needs Cleaning?
While most individuals can clean an oven every three months, accidents and messes may happen at any moment. Seeing filth or smelling anything while cooking is a good sign that your oven needs cleaning. When to thoroughly clean: Here are some simple signs.
Oven Doors
Clean your oven if the door has residue, a greasy sensation, or a hazy sight.
The Sniff Test
When used, does your oven smell burnt? Deep cleaning should fix it.
What Happens When You Do Not Clean The Oven?
Neglecting to clean your oven can lead to various consequences, affecting both the appliance itself and the quality of your cooking. Here are some of the issues that may arise when you do not clean the oven regularly.
Fire Hazard
Accumulated grease and food debris inside the oven can become a severe fire hazard. When exposed to high temperatures, these substances may ignite, posing a risk to your safety and potentially causing damage to the appliance.
Unpleasant Odors
As food particles and spills accumulate over time, they can emit unpleasant odors when the oven is in use. These odors may transfer to your food, impacting its taste and overall quality.
Smoke Emission
Excessive buildup of grime can result in the production of smoke when the oven is turned on. It not only affects the taste of your food but can also trigger smoke detectors in your home.
Uneven Cooking
A dirty oven can lead to uneven heating and cooking. The presence of grime on the oven walls and heating elements can interfere with the distribution of heat, causing some areas to cook faster than others.
Reduced Energy Efficiency
A layer of grime acts as insulation, making it more difficult for the oven to reach and maintain the desired temperature. This reduced efficiency can lead to longer cooking times and increased energy consumption.
Appliance Malfunctions
The accumulation of grease and debris may affect the functioning of various oven components, such as fans, heating elements, and thermostats. Over time, this can lead to malfunctions and the need for costly repairs.
Bacterial Growth
Food spills and residues left uncleaned can become a breeding ground for bacteria. It not only poses health risks but can also contaminate your food during the cooking process.
Smoke And Foul Smells During Cooking
As accumulated grime heats up during cooking, it can release smoke and foul smells into your kitchen, creating an unpleasant cooking environment.
Deterioration Of Oven Interior
Persistent neglect may lead to permanent damage to the interior surfaces of the oven. Over time, baked-on grime can become extremely difficult to remove, resulting in an unattractive and potentially unsanitary cooking space.
Shortened Appliance Lifespan
Regular cleaning contributes to the longevity of your oven. Failure to maintain cleanliness can lead to premature wear and tear, reducing the overall lifespan of the appliance.
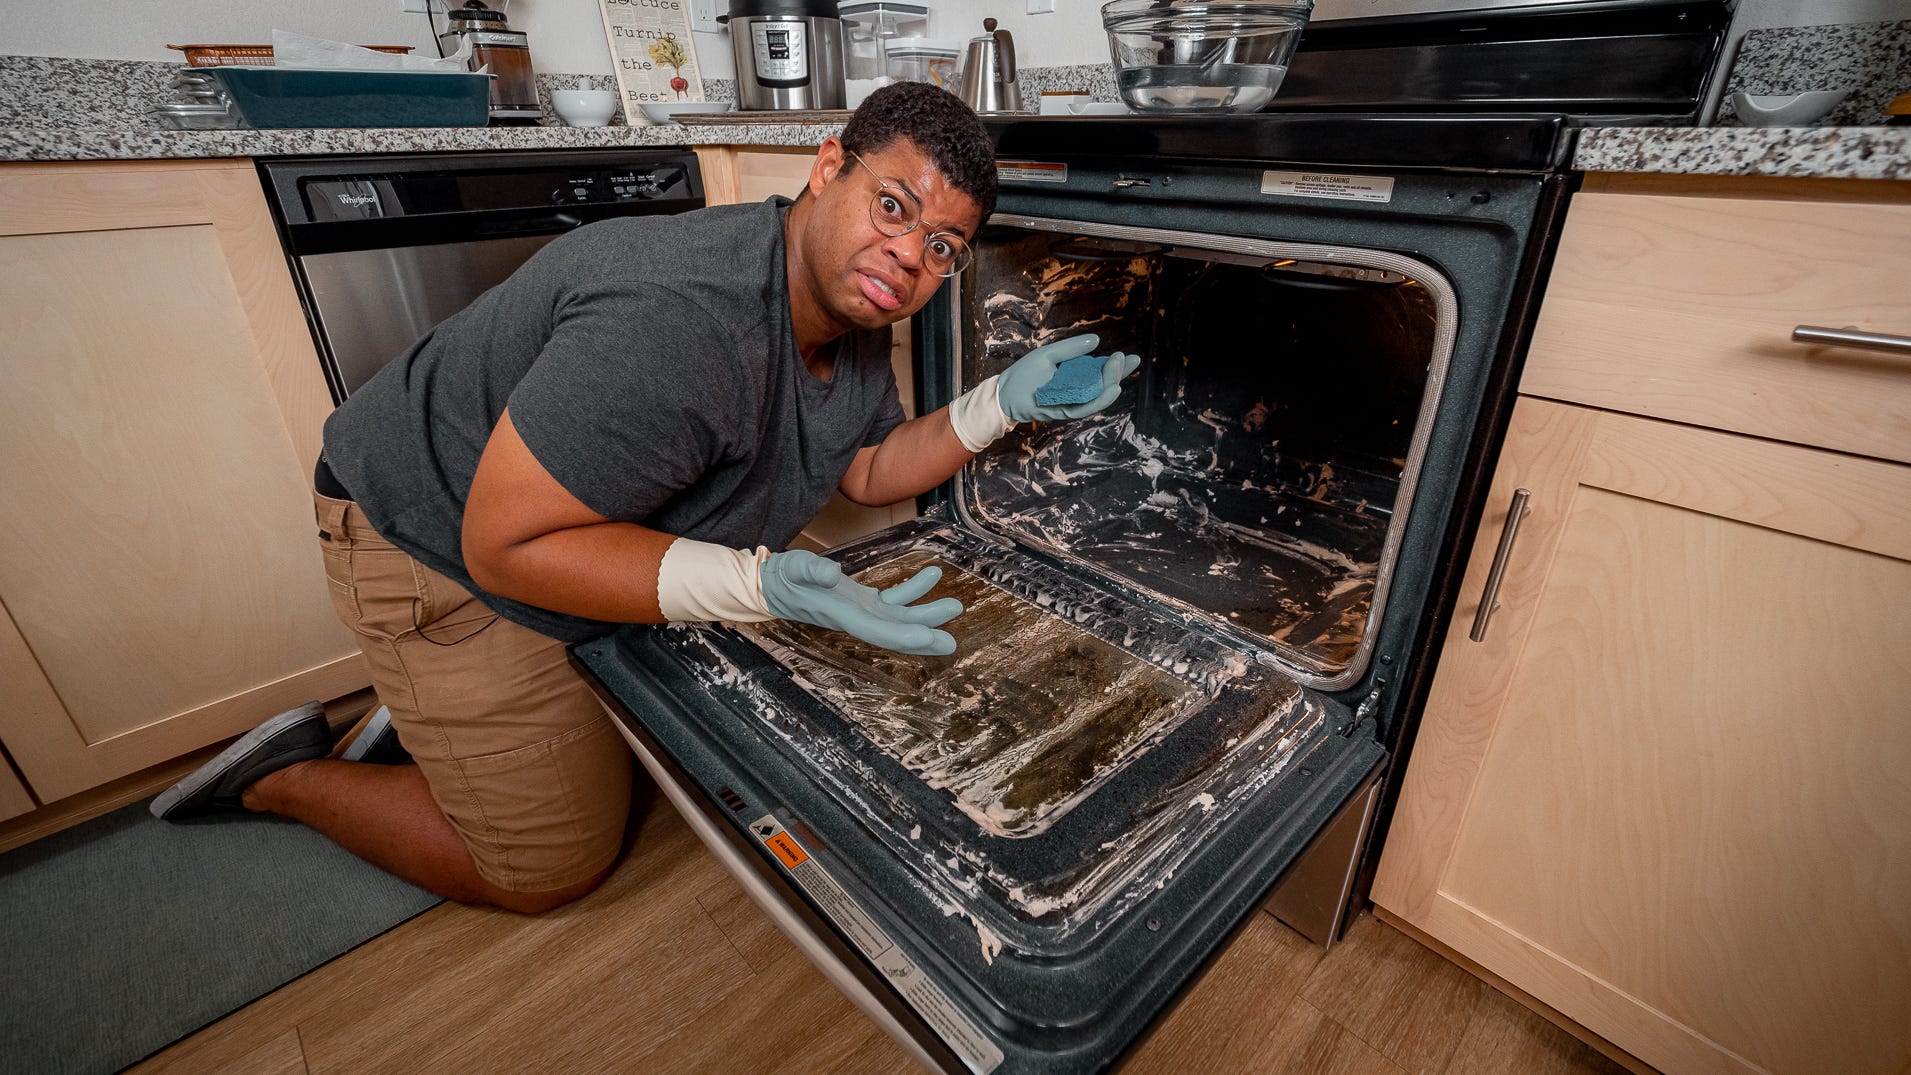
Precautions While Cleaning The Worst Oven
Cleaning the worst oven requires diligence and safety measures to ensure effective results without compromising your well-being. Here are essential precautions to consider, incorporating insights from previous discussions on "how to clean the worst oven."
Ventilation Is Key
Proper ventilation is crucial during the oven cleaning process. Open windows, turn on the kitchen exhaust fan or use a portable fan to ensure a continuous flow of fresh air. It helps disperse any fumes from cleaning agents, preventing inhalation and providing a safer environment.
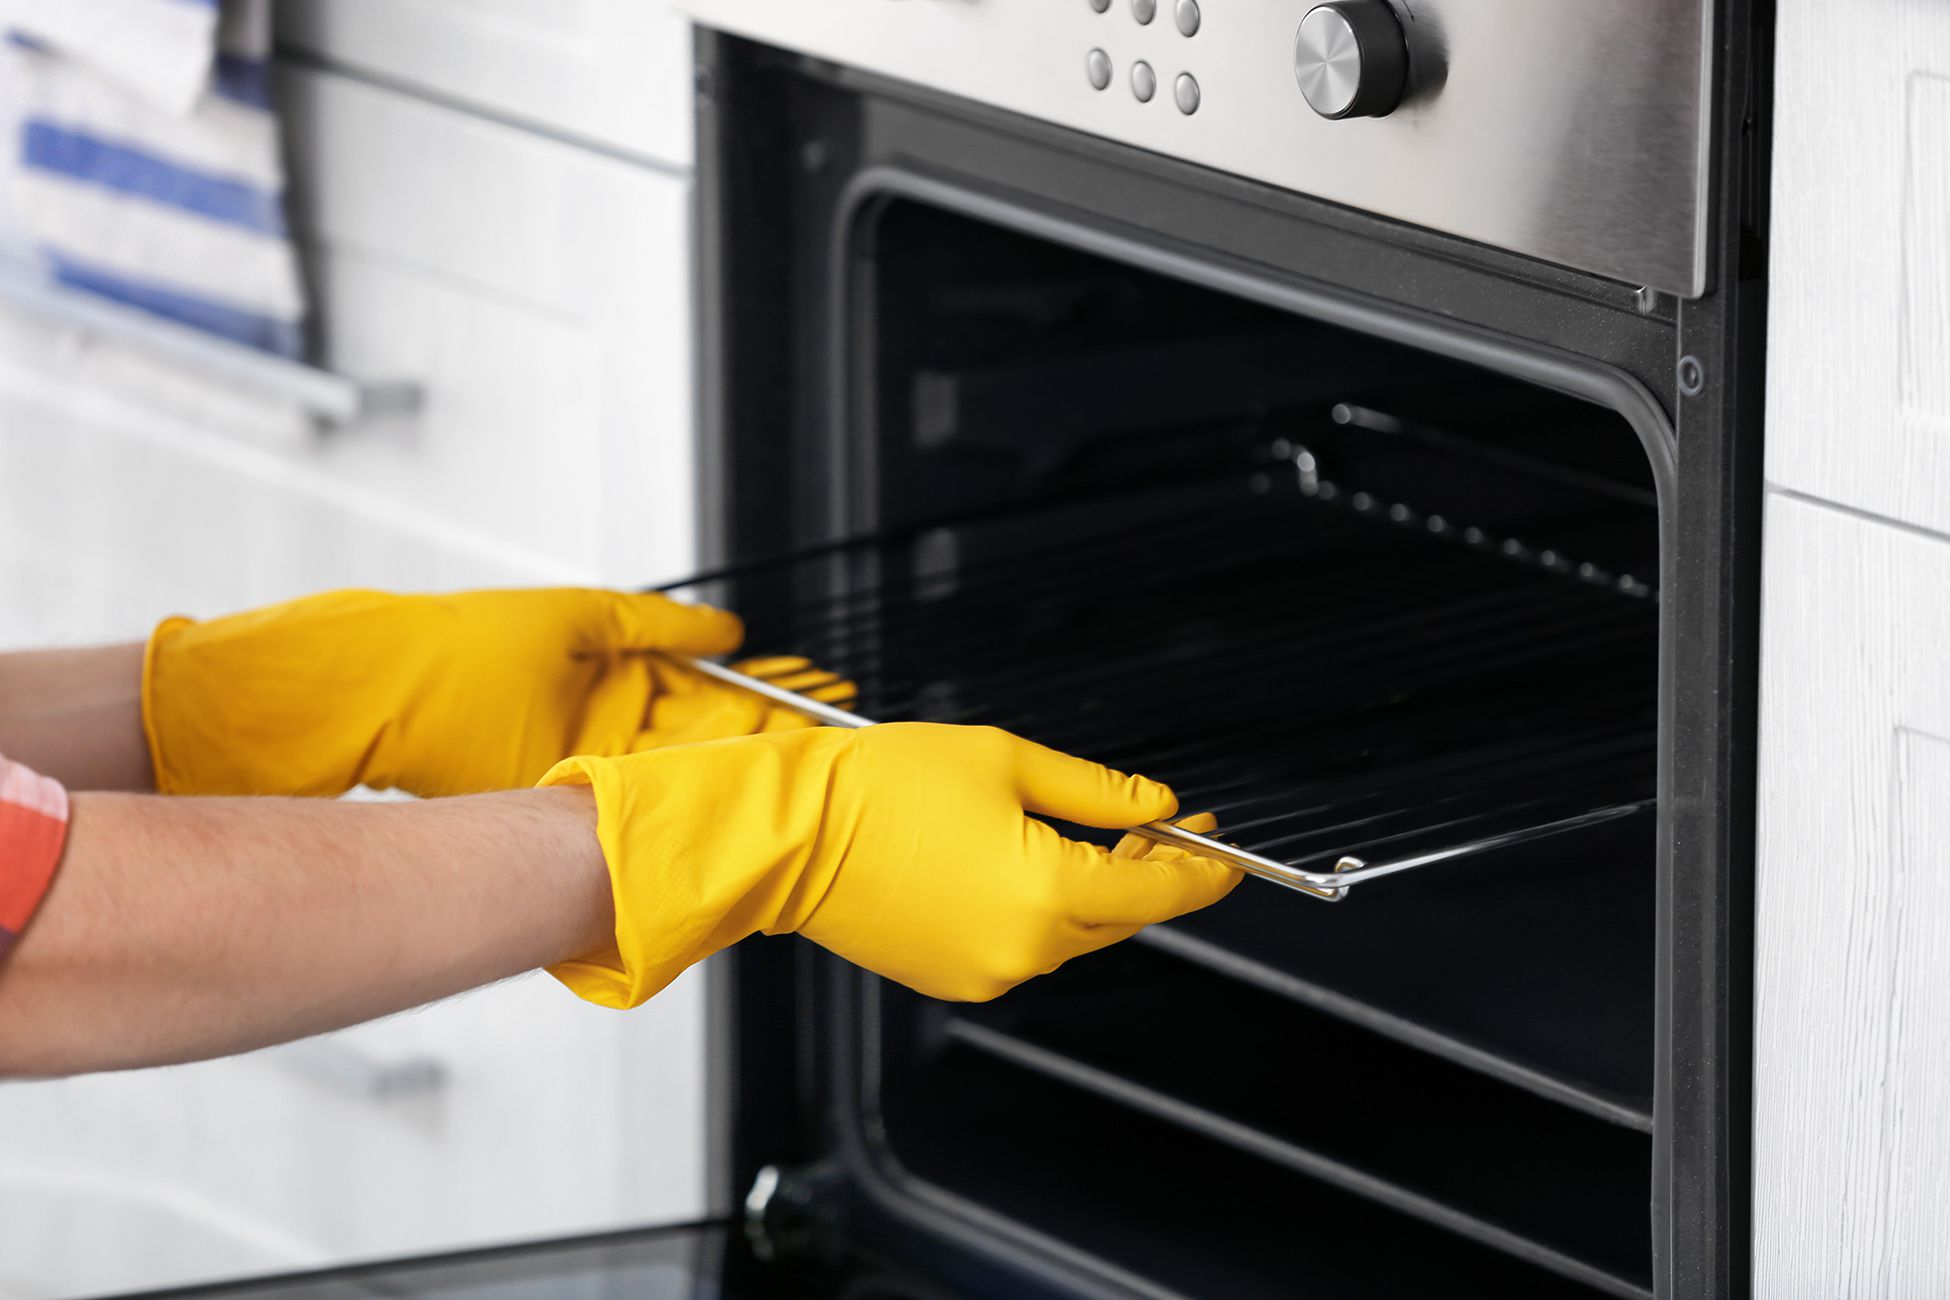
Protective Gear
When dealing with stubborn grime, particularly in the worst oven scenarios, always use protective gear. Wear gloves to shield your hands from chemicals and hot surfaces. Additionally, consider using safety goggles and a mask to protect your eyes and respiratory system from cleaning solution fumes.
Read And Follow Cleaner Instructions
Whether using commercial oven cleaners or DIY solutions, always read and follow the instructions provided by the manufacturer or recipe. Different cleaning agents have specific application methods, dwell times, and safety guidelines. Adhering to these instructions ensures effective cleaning while minimizing risks.
Avoid Harsh Chemicals If Possible
While commercial cleaners can be effective, they often contain harsh chemicals. Opt for natural cleaning solutions using items like vinegar, baking soda, or lemon. These alternatives are less abrasive, reducing the risk of chemical exposure and creating a safer cleaning environment.
Remove Food Residues Before Cleaning
Before applying any cleaning solution, remove loose debris and food residues from the oven. Use a dry cloth or brush to wipe away crumbs and large particles. It not only makes the cleaning process more effective but also minimizes the chance of smoke or odors when the oven is turned on.
Take Care With Scrubbing Tools
When using scrub brushes, sponges, or scouring pads, choose tools that are appropriate for your oven's surface. Avoid overly abrasive materials that could damage the interior. Gentle scrubbing is often sufficient, especially when employing effective cleaning solutions.
Protect Kitchen Surfaces
Place protective materials, such as old towels or newspapers, around the oven to catch any drips or spills. It prevents cleaning agents from damaging your kitchen surfaces and makes cleanup easier.
Keep Children And Pets Away
During the cleaning process, keep children and pets away from the kitchen. Cleaning solutions, even natural ones, can pose risks if ingested or touched. Minimize the chance of accidents by creating a safe zone during your oven cleaning endeavor.
How To Clean The Worst Oven - FAQs
Is It Necessary To Clean The Oven Every Day?
Clean appliances regularly, such as the oven, every three months or when burned food or smoke is detected after baking, according to Maker. Most ovens are self-cleaning but remove the racks, clean them individually, and follow the manufacturer's instructions for optimal results.
How Long Can You Go Without Cleaning Your Oven?
Deep clean your oven every three months or more often if it's used a lot. Wiping up spills once your oven cools helps lengthen the duration between significant cleans.
How Do I Clean My Oven Without Self-cleaning?
Food-based oven oil is acidic, whereas baking soda is alkaline. Baking soda neutralizes acids and breaks down grease, making cleanup easy. It removes dried, stuck-on meals since it's somewhat abrasive.
How Do Professionals Clean An Oven?
Professionals disassemble the oven to clean every nook and corner. Disassembling an oven requires expertise. Professional oven cleaners typically take photographs of your oven while they disassemble it for reference before reassembling it.
How To Clean The Worst Oven?
To clean the worst oven, start by removing loose debris, create a powerful cleaning solution using baking soda and vinegar or a commercial cleaner, apply it generously, let it sit, scrub stubborn areas with a brush, and wipe away the dissolved grime. Repeat the process 2-3 times a year for optimal results.
In The End
Mastering the art of how to clean the worst oven involves a strategic approach, essential tools, and a commitment to safety. By following the recommended methods, whether utilizing natural ingredients like baking soda and vinegar or opting for commercial cleaners, you can effectively conquer stubborn grime.
Remember the importance of proper ventilation, protective gear, and adherence to cleaning agent instructions. Consistency is critical, and incorporating these techniques 2-3 times into your routine ensures a spotless, well-maintained oven.
Bid farewell to the worst oven grime and revel in the triumph of a sparkling, functional appliance that enhances both your cooking experience and kitchen aesthetics.
Jump to
Understanding The Culprit - What Makes An Oven Dirty?
How To Clean The Worst Oven - With Baking Soda
Conquering The Worst Oven Grime Without Baking Soda
Mastering The Art - 10 Best Ways To Clean The Worst Oven
How Do You Clean The Inside Oven?
Cleaning Oven Racks
Cleaning The Glass Oven Door
How Do You Know When Your Oven Needs Cleaning?
What Happens When You Do Not Clean The Oven?
Precautions While Cleaning The Worst Oven
How To Clean The Worst Oven - FAQs
In The End

Suleman Shah
Author
Suleman Shah is a researcher and freelance writer. As a researcher, he has worked with MNS University of Agriculture, Multan (Pakistan) and Texas A & M University (USA). He regularly writes science articles and blogs for science news website immersse.com and open access publishers OA Publishing London and Scientific Times. He loves to keep himself updated on scientific developments and convert these developments into everyday language to update the readers about the developments in the scientific era. His primary research focus is Plant sciences, and he contributed to this field by publishing his research in scientific journals and presenting his work at many Conferences.
Shah graduated from the University of Agriculture Faisalabad (Pakistan) and started his professional carrier with Jaffer Agro Services and later with the Agriculture Department of the Government of Pakistan. His research interest compelled and attracted him to proceed with his carrier in Plant sciences research. So, he started his Ph.D. in Soil Science at MNS University of Agriculture Multan (Pakistan). Later, he started working as a visiting scholar with Texas A&M University (USA).
Shah’s experience with big Open Excess publishers like Springers, Frontiers, MDPI, etc., testified to his belief in Open Access as a barrier-removing mechanism between researchers and the readers of their research. Shah believes that Open Access is revolutionizing the publication process and benefitting research in all fields.

Han Ju
Reviewer
Hello! I'm Han Ju, the heart behind World Wide Journals. My life is a unique tapestry woven from the threads of news, spirituality, and science, enriched by melodies from my guitar. Raised amidst tales of the ancient and the arcane, I developed a keen eye for the stories that truly matter. Through my work, I seek to bridge the seen with the unseen, marrying the rigor of science with the depth of spirituality.
Each article at World Wide Journals is a piece of this ongoing quest, blending analysis with personal reflection. Whether exploring quantum frontiers or strumming chords under the stars, my aim is to inspire and provoke thought, inviting you into a world where every discovery is a note in the grand symphony of existence.
Welcome aboard this journey of insight and exploration, where curiosity leads and music guides.
Latest Articles
Popular Articles